|
For this assignment, we took a minimum of 50 photos for the topic we picked. I chose the topic of nature, so I took some pictures of things I found outside. I chose what we thought was my best picture and then included some others that I liked.  ISO: 1600 Aperture: 5/8 Shutter Speed: 1/250 After doing this assignment, I learned that you can get good pictures of very simple things if you take the picture right. I also learned that editing can be a huge part of the picture. The one I choose as my favorite picture is just a picture of a trees branches taken upwards, this looked very plain, but then I changed it to black and white and I did some editing and I think it has a very different feel to it then it did in color.
1 Comment
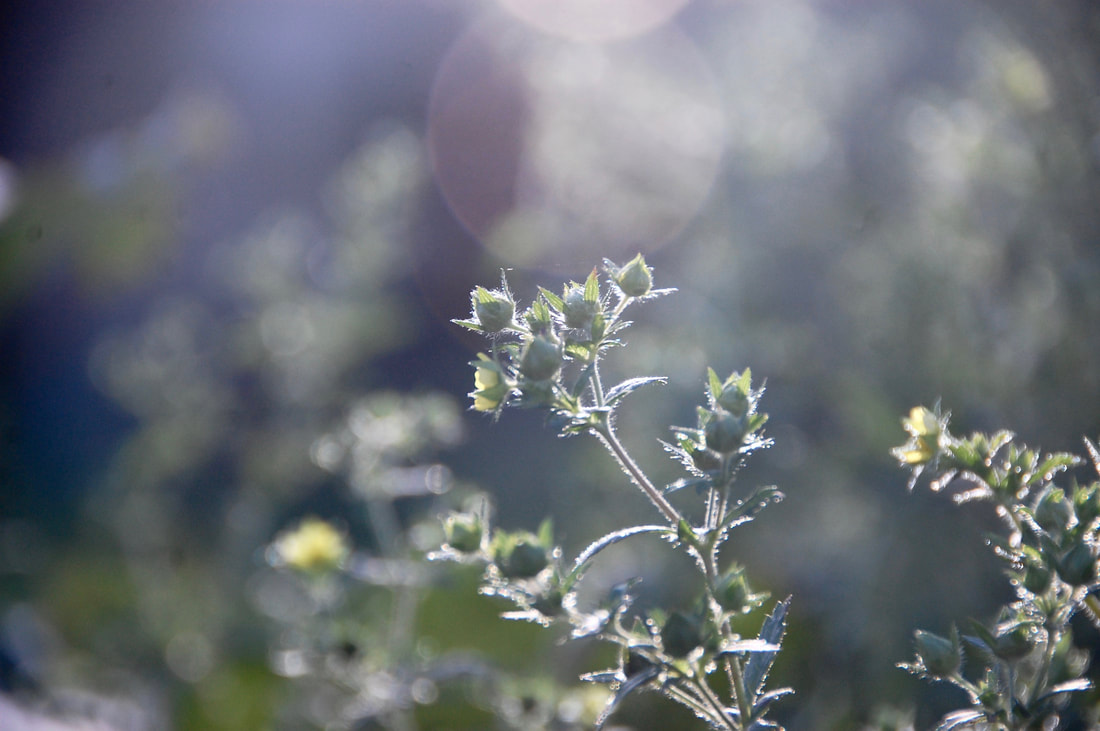
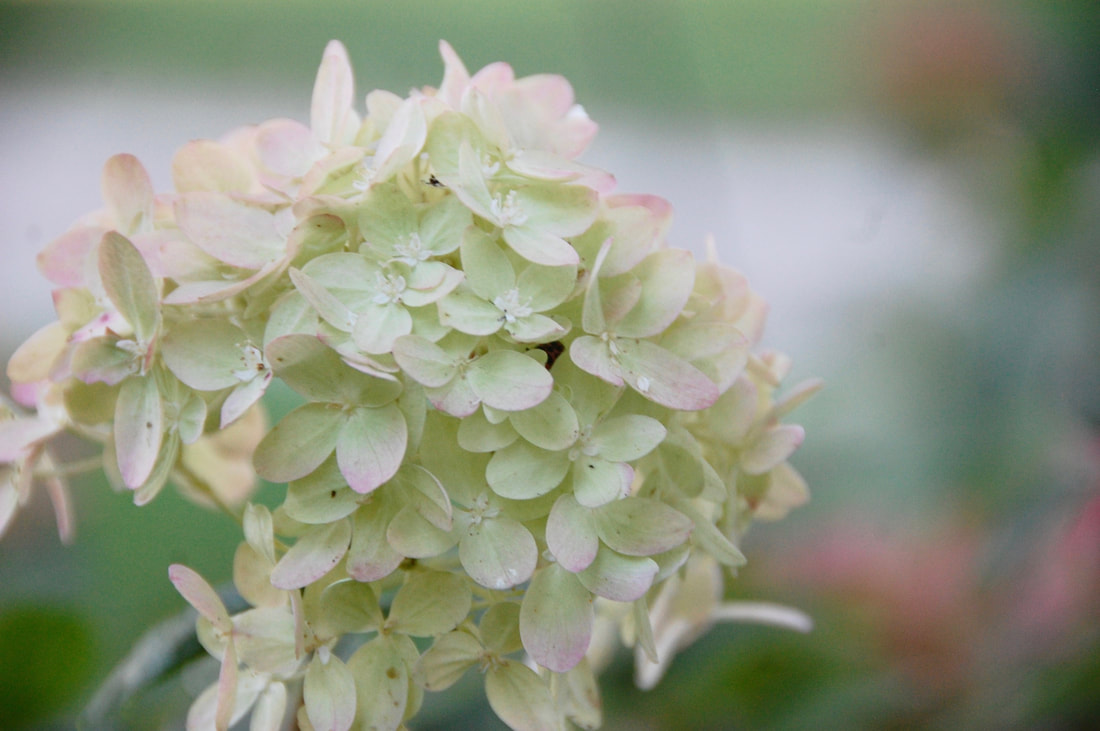
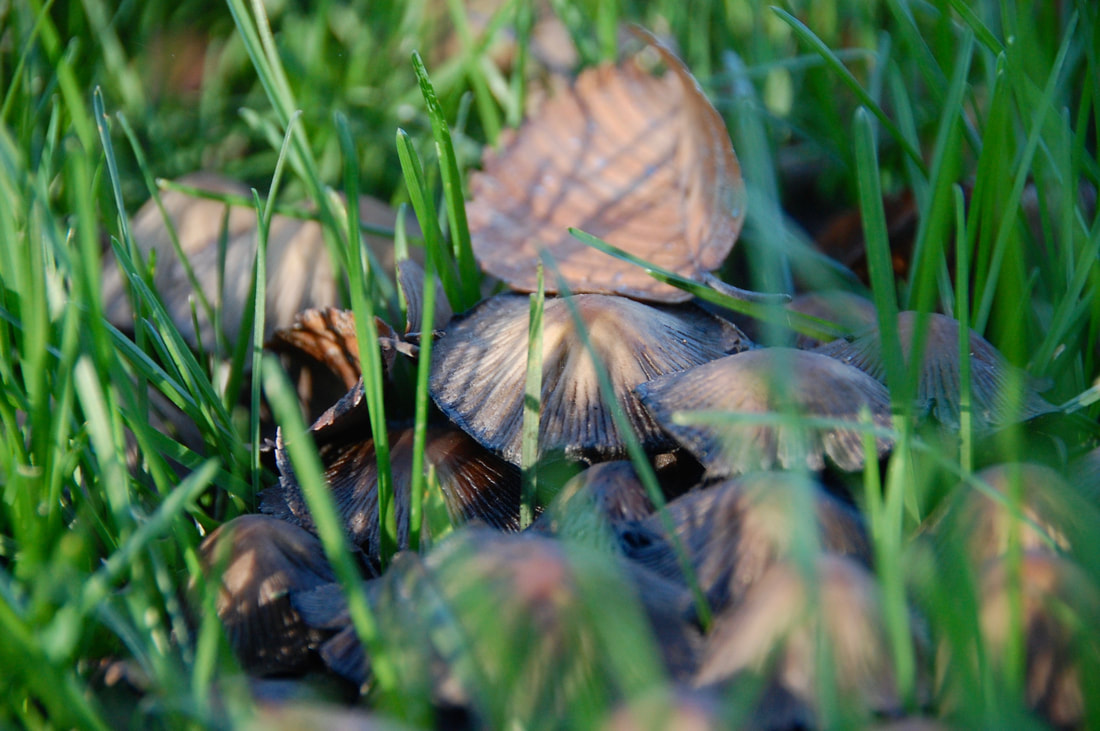
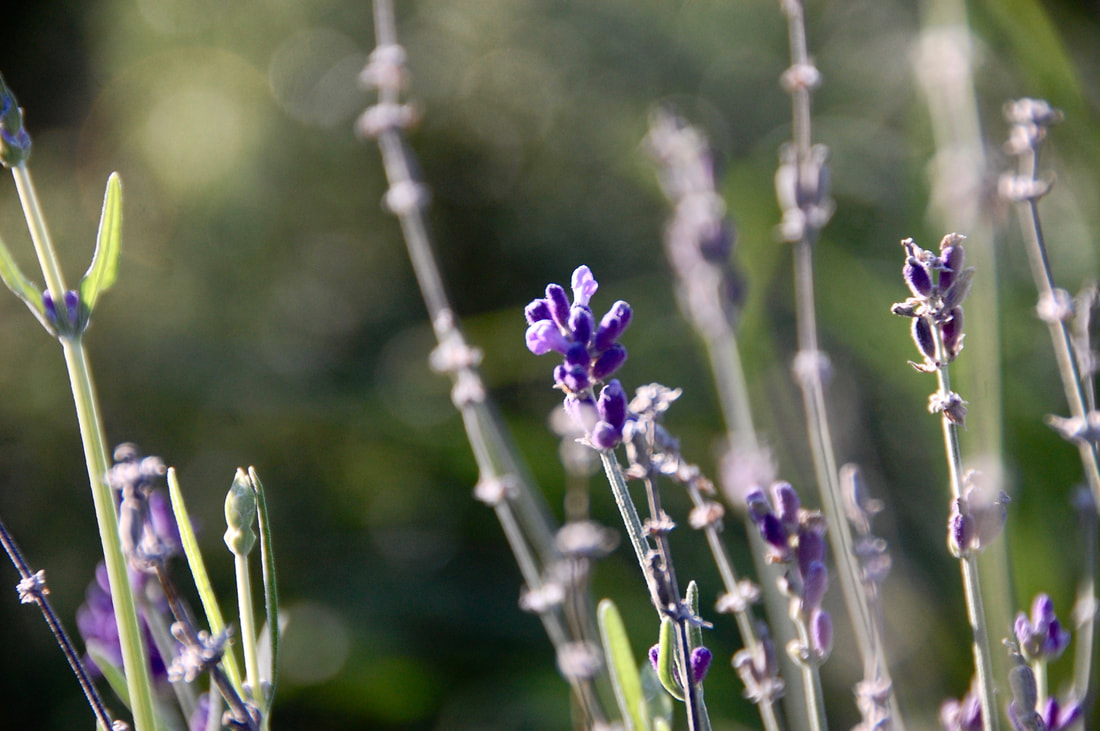
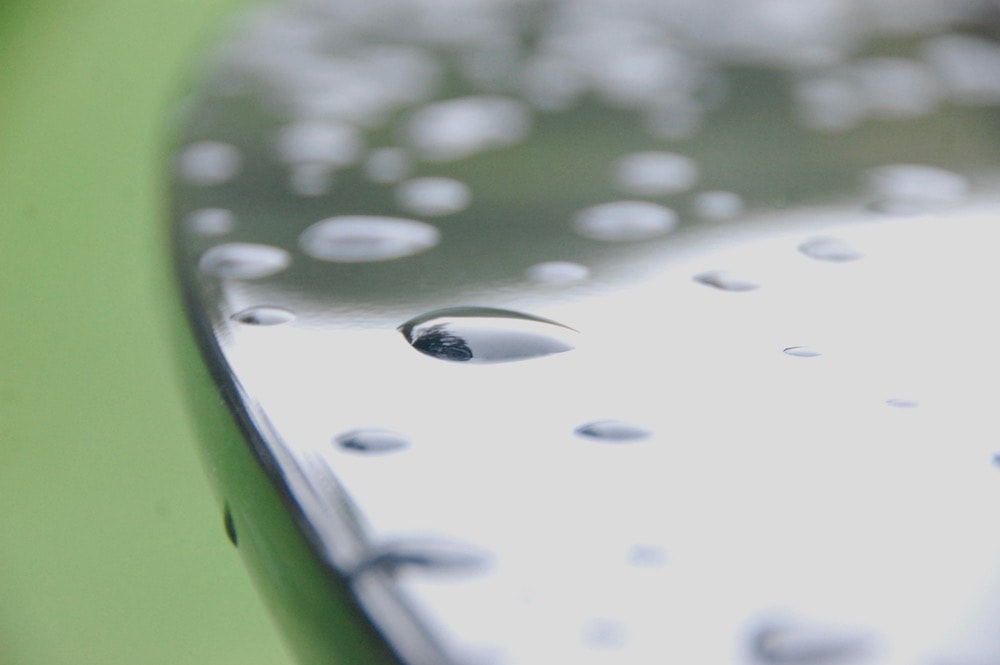
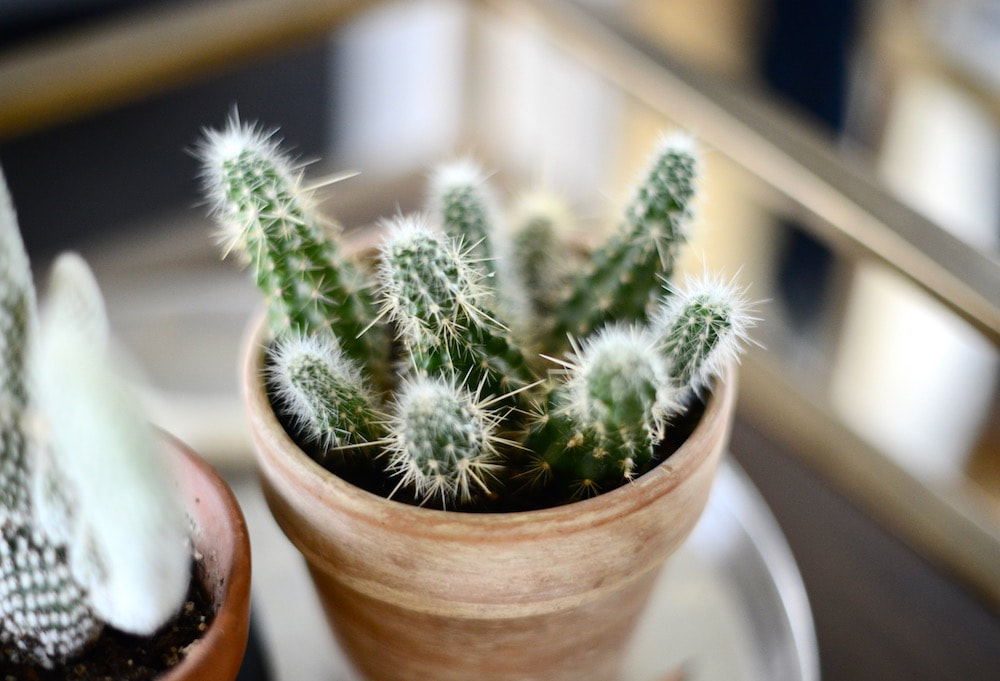
For my third shooting assignment, I'm going to take pictures for the nature category. I think this one is a good one to do because it's very easy to find nature outdoors and to make even something simple look cool. These are 3 pictures I found online for my inspiration.   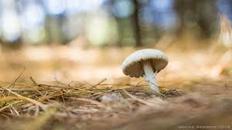 I think these are good examples for what I want because they are simple, but they still look good. They look especially cool because of the depth of field in the photo and I think I'm going to try to have depth of field in mine.
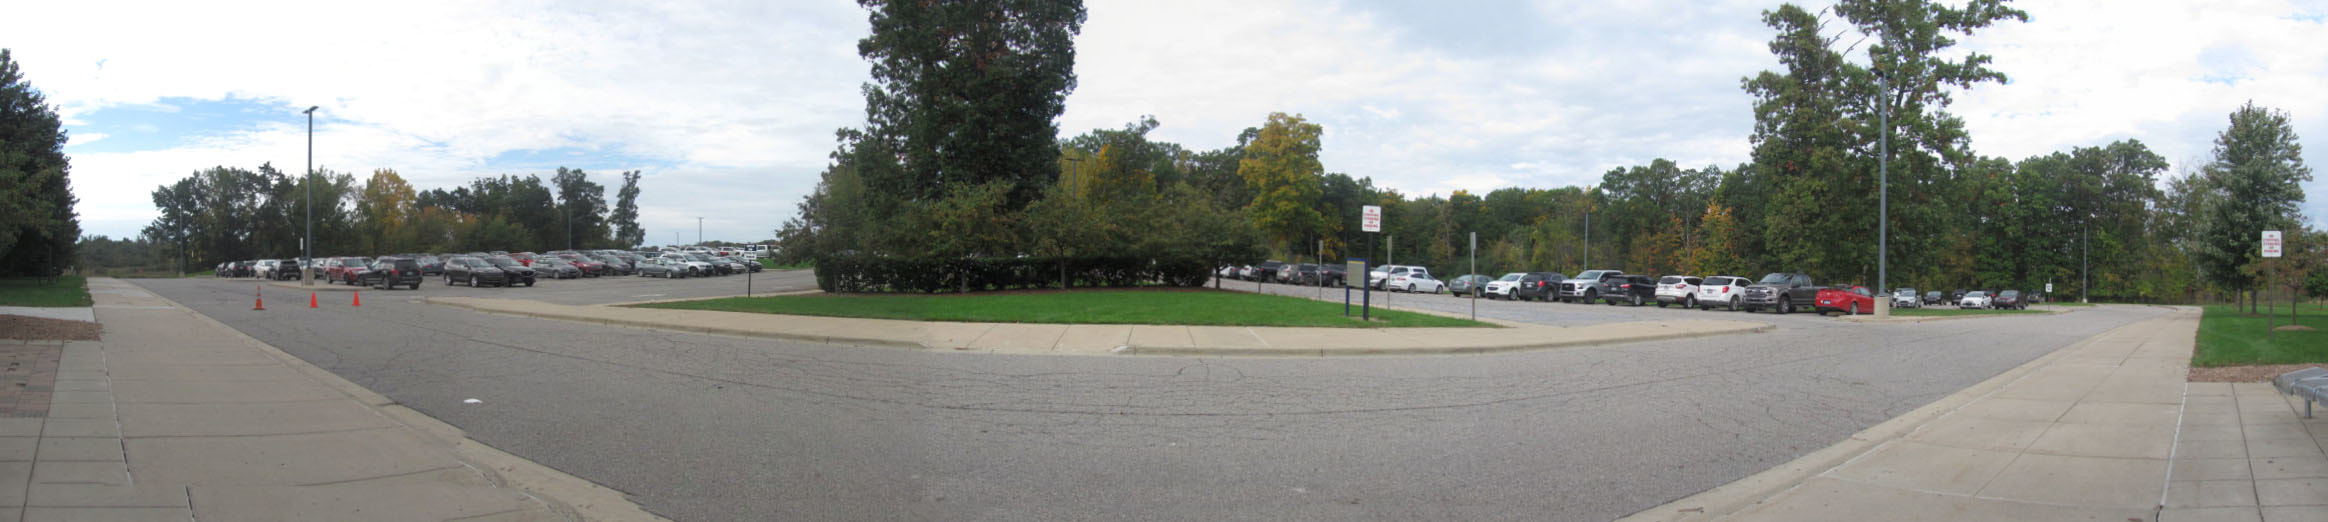
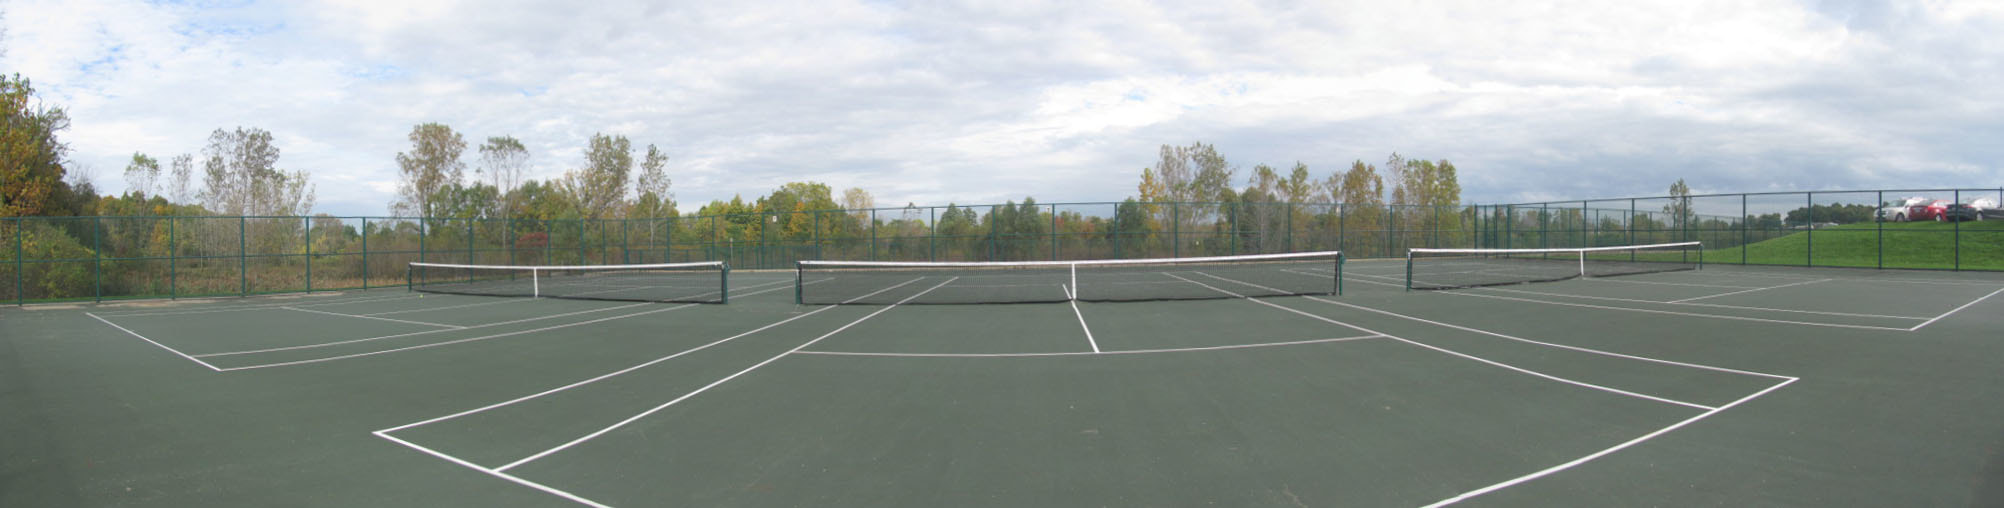
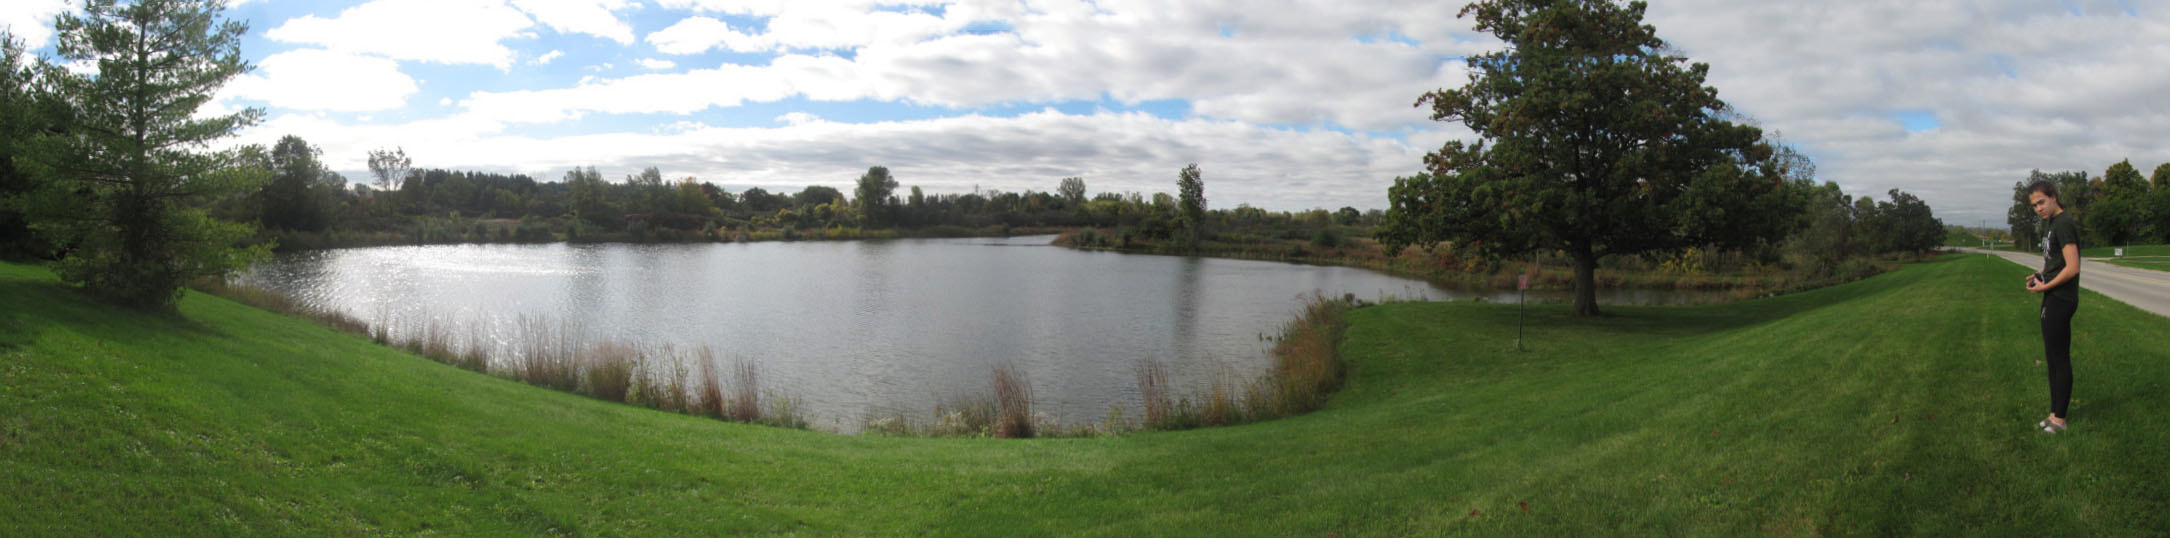
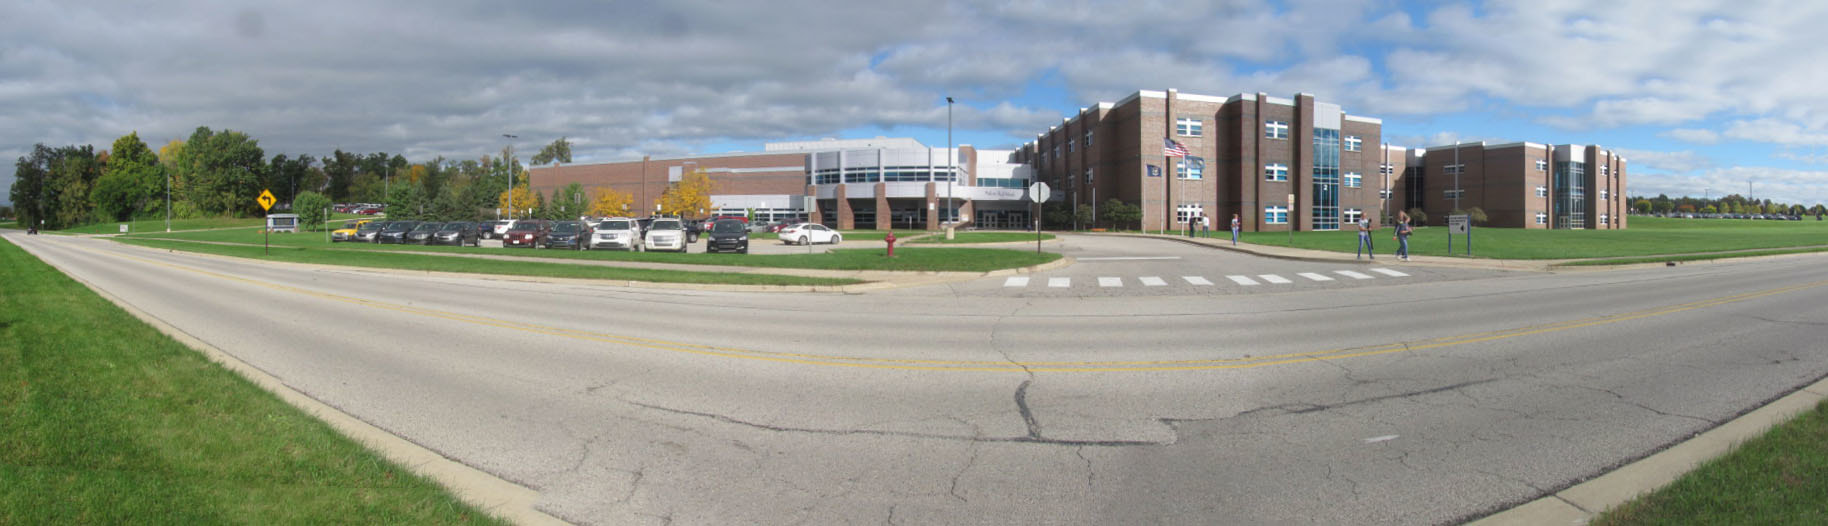
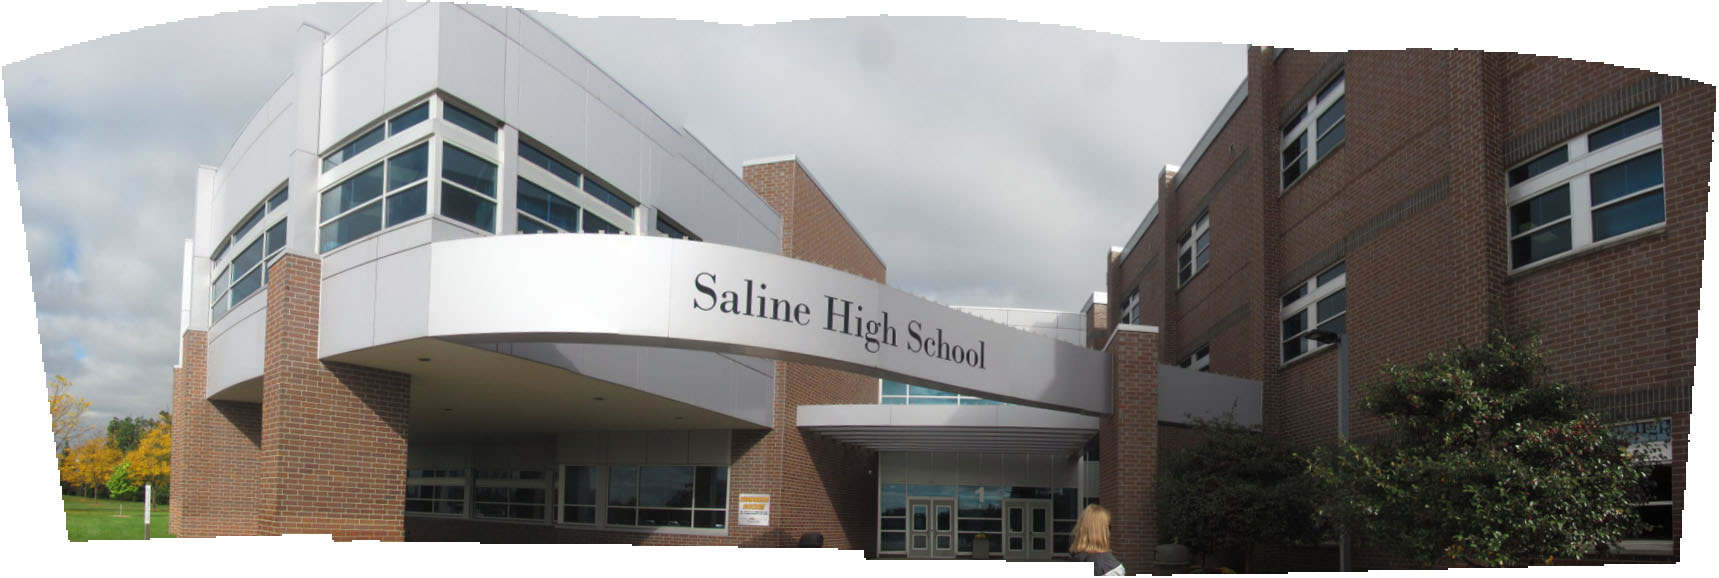
For this assignment, we had to create a panoramic picture in photoshop by putting together separate photos we took. I used at least 4 pictures for each. Here I choose 5 pano pictures I made. I learned lots of things from doing this assignment. First, I learned the basics of taking the separate pictures for a panoramic picture. And I also learned how to put it together in photoshop. I think the results turn out really cool and it's easy to do.
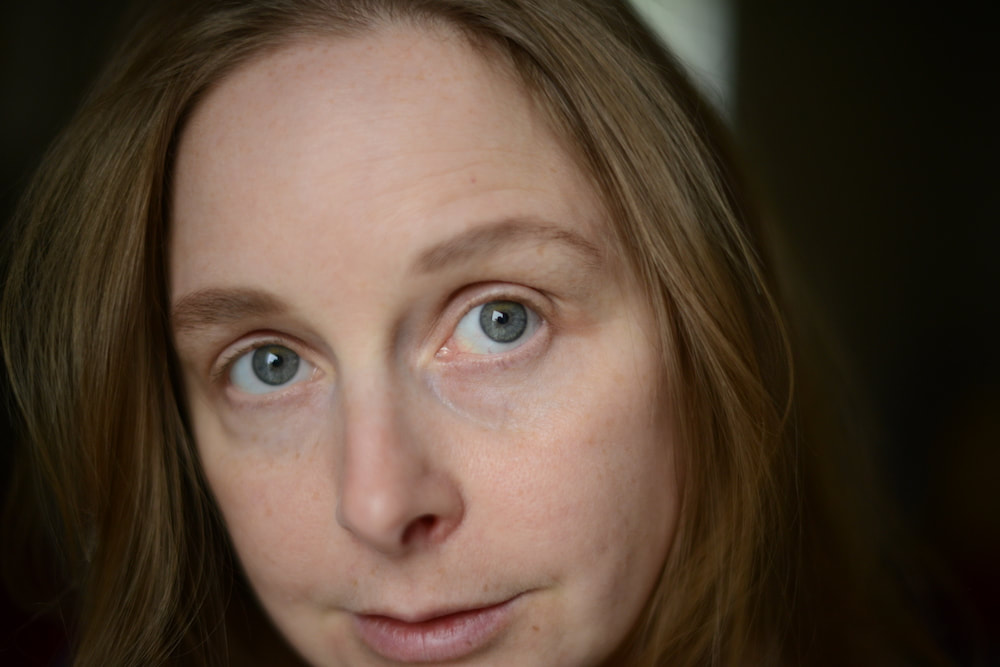
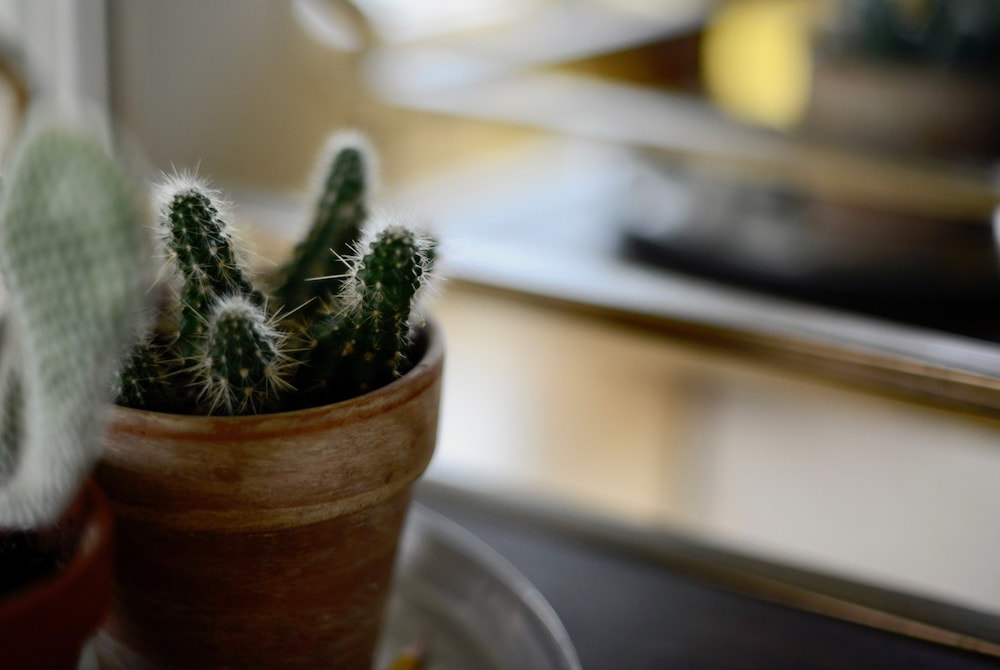
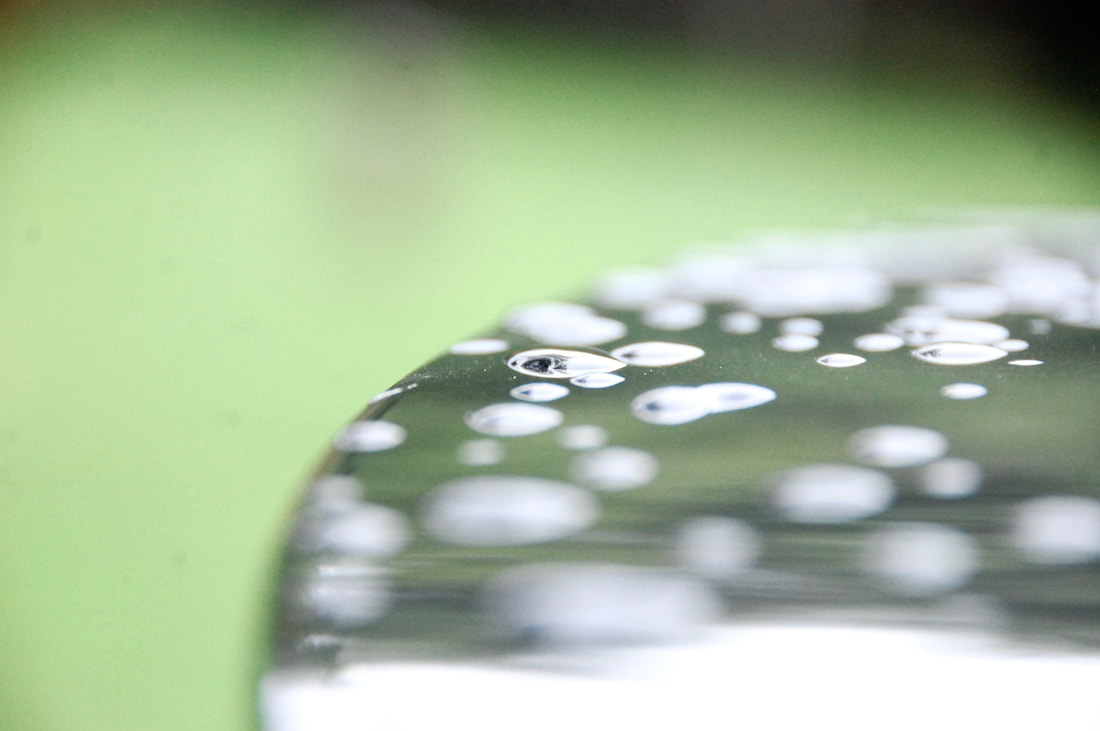
For this assignment, we took a minimum of 50 photos for the topic we picked. I chose the topic of macro, so I took some pictures of objects and also some of a person, focusing directly on the face. I chose what we thought was my best picture and then included some others that I liked. 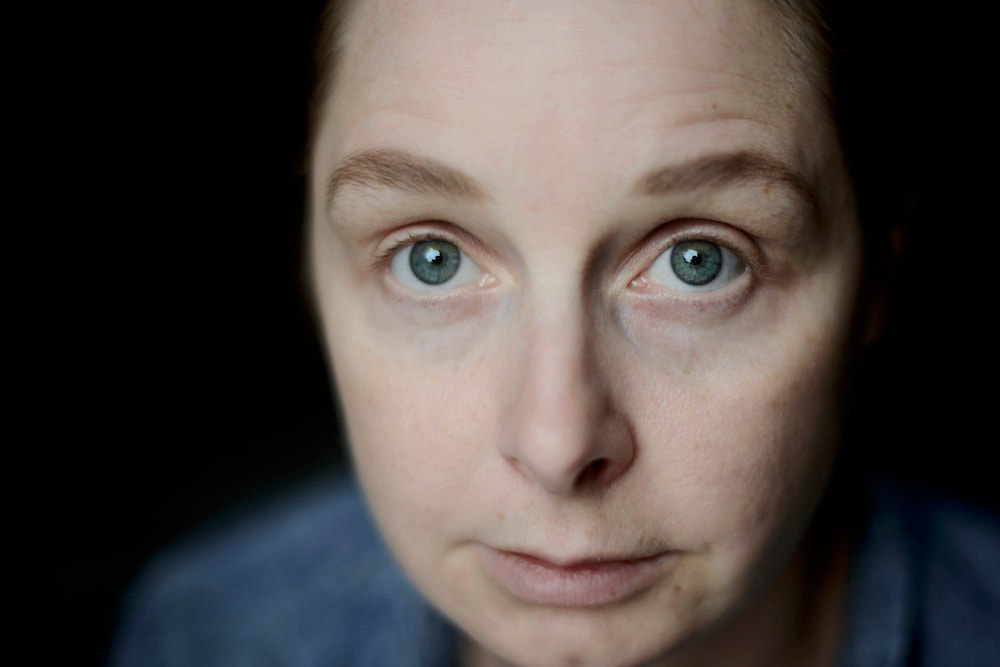 ISO: 1000 Aperture: f/1.4 Shutter Speed: 1/640 After doing this assignment, I learned that it's hard to get macro pictures without a macro lens. I had to face the problem of that if I got too close, it would loose focus and get blurry, but if it was too far, it would not be considered a macro picture. This was a particularly hard category to shoot because I do not own a macro lens. Something that went well is that I think my pictures are high quality and overall they look good.
For my second shooting assignment, I'm going to take pictures for the macro category. I think this one is an interesting one to do and you can do it with many different subjects. I want to catch very intricate parts of the subject. These are 3 pictures I found online for my inspiration. 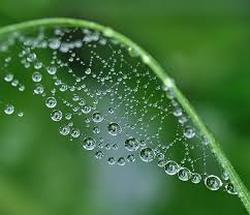 Photo 1 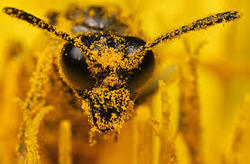 Photo 2 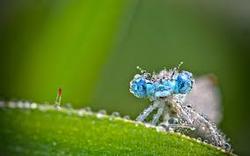 Photo 3 I think these are good examples for what I want because they show very close detail. These photos look cool because you get very close to the subject and you see something you can't necessarily see if you just look at it.
For this project, we took a picture of a car and retouched it. We had to change the hue/saturation, clone stamp it and color the background black. After we finished the one with guidelines, we got to experiment more with another. I used the same car, but it now looks completely different. 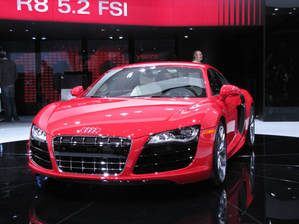 Original Picture 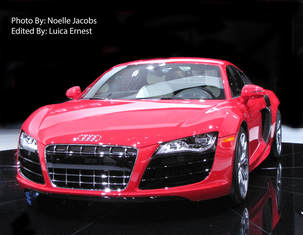 Edit with guidelines 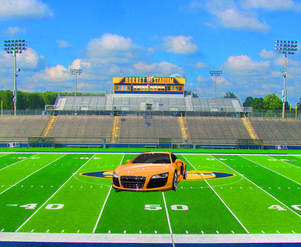 2nd edit After doing this assignment, I've learned so much more on editing and I think I've grasped a better understanding of it. I learned about changing the saturation and making the same color look different. I also learned about selecting specific sections of the image to just change that part.
For this assignment, we took a minimum of 50 photos for the topic we picked. I chose the topic of people, so I took some pictures of my sister. I chose what we thought was my best picture and then included some others that I liked. After doing this assignment, I learned that taking darker pictures can be hard, but it can also add a cool effect to the pictures. I also learned that when you're doing a serious of pictures, if you edit them, they should be edited in the same sort of way and they should look similar. Something that went well for me was how well my subject cooperated. I prefer taking pictures of people, because it's always more fun.
Shutter SpeedFor these pictures, I had the subject do a cartwheel and each time I made the shutter speed faster. If you compare the first picture which had a shutter speed of 1/20 to the last one which had a shutter speed of 1/160, you can notice 2 things that drastically change. The first thing you might notice is that the last picture is more frozen, while the first looks more in motion. In the first one, her feet are blurred out in the motion, but as the pictures go on, her feet become more frozen in the picture. The next thing you might notice is the brightness. In the first photo, the picture is the brightest, but as they go on, they become darker. ApertureFor these pictures, I had my subject stay in the same place so I could demonstrate the effect of aperture. When comparing the first photo which had an aperture of f9 to the last which had an aperture of f22, once again, you should notice drastic changes in two different things. The first change has to do with the background. Looking at the background of the first one, you'll notice it's more blurred out and you can only see the vague colors and shapes of what's behind the subject. On the contrary, the last picture has a much clearer background, and you can tell more of what's in the background. The second change you can notice with aperture is once again the brightness. The First picture has a bigger opening so it let more light in, making the picture brighter, but the last one has a smaller opening, letting less light in and making it a darker picture. A fast shutter speed does what to an image? A faster shutter speed opens the lens quicker and lets less light in making the image darker. Also, if the image is in motion, a faster shutter speed can make it freeze action.
A slow shutter speed causes what effect on an image? A slower shutter speed opens the lens slower and lets more light in making the image brighter. Also, if the image is in motion, a slower shutter speed can make the moving subject look like it's in motion and making that part of the picture blurred. A large aperture (size wide open) causes what effect on an image? A large aperture can make the background more blurred and that causes the subject of the picture to be more of the pictures main focus. Also, since the lens is opening wider, it allows more light in and makes the picture brighter. A small aperture causes what effect on an image? A small aperture makes the background less blurred compared to a large aperture. Also, since the lens doesn't open as wide, it allows less light in and makes the picture darker. For this assignment, we used a simple photo of ourselves and put it into photoshop to change its colors. We learned about ways to use photoshop through this assignment in a fun way. 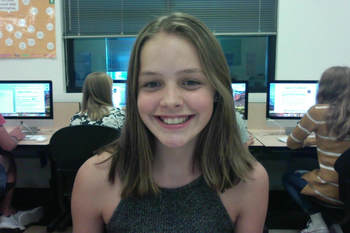 Original Photo 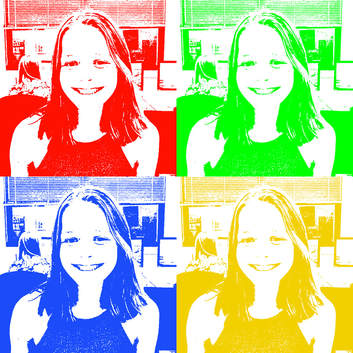 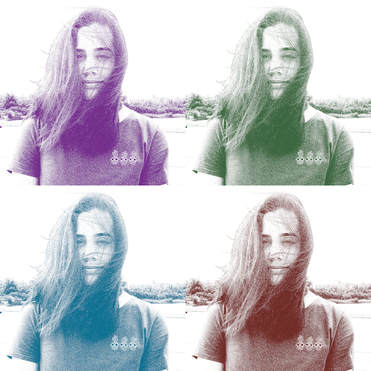 I learned about different tools to use in photoshop. First we had to learn about cropping the image and and giving it a black and white effect. Then we had to learn about copying and pasting the image to duplicate it. We learned about changing the colors and making each of the pictures look the same with different coloring.
For my first shooting assignment, I'm going to take pictures for the people category. Taking pictures of people is something I'm more comfortable with, and that's why I chose to start with this one. I want to be able to capture the personality or share something about the person through the picture. These are 3 pictures I found online for my inspiration.  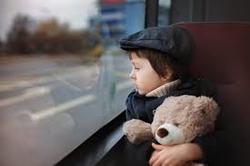 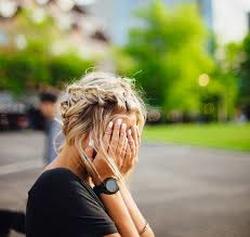 I think these are good examples for what I want in my pictures because they show the personality of the people or like in the first photo it shows something the person enjoys doing. These make it better than just a posed picture of someone just smiling because it gives more background.
|